> For the complete documentation index, see [llms.txt](https://help.immodio.app/llms.txt). Markdown versions of documentation pages are available by appending `.md` to page URLs; this page is available as [Markdown](https://help.immodio.app/en/anleitung/einstellungen/benutzerverwaltung/neuen-benutzer-einladen.md).
# Inviting a new user
{% hint style="info" %}
New users can be added by the account administrator using an invitation link.
{% endhint %}
This is how you invite a new user as an administrator:
{% stepper %}
{% step %}
### **Open user management**
Click the **user icon** at the top right and open the **Settings**. Then switch to the **User management** tab.
{% hint style="info" %}
If the tab is not shown, this is usually because of a role without the necessary rights (for example Editor, Finance, etc.) or an unsuitable plan (user management is only available on the Premium or Business plan).
{% endhint %}
{% endstep %}
{% step %}
### Click "Invite user"
The **Invite user** button opens the form for adding a new user. This action is intended for **administrators** only.
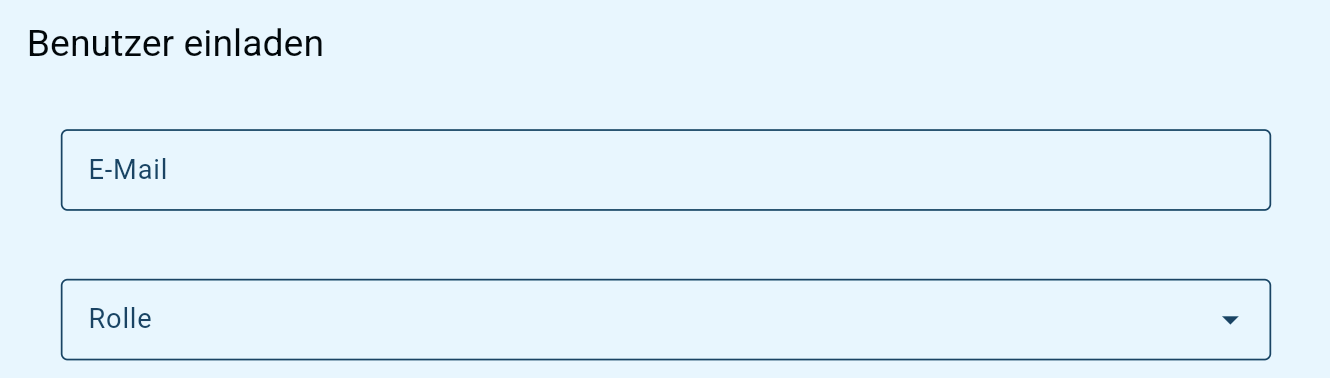
### **2.1 Enter the new user's email address**
Enter the email address of the person who is to be given access to your Immodio account. Make sure the address is spelled correctly, as the invitation is assigned uniquely to this email address.
### **2.2 Select the appropriate role**
Define which role the new user is to receive. The role determines which areas the person may view, create, edit or delete.
Roles determine which areas a user may view, create, edit or delete. In user management the following roles are primarily available:
| Role | Typical use |
| ----------------- | --------------------------------------------------------------------------------------------------------- |
| **Administrator** | For account holders or people who may fully manage all areas including user management. |
| **Manager** | For people who may edit all data operationally but do not need full administration access. |
| **Editor** | For people who work actively with data but are not to receive critical administration or deletion rights. |
| **Viewer** | For people who are to view information but not change any data. |
Then click the "**Invite user**" button at the bottom right.
{% endstep %}
{% step %}
### Copy the invitation link
Once it has been created successfully, Immodio shows the invitation link. Copy this link, as the invited person needs it in order to accept the invitation and connect to the account.
Once copied to the clipboard, you can send the invitation link to the new user, for example by email.
After the invitation has been created, Immodio creates a provisional user entry. The user then appears in user management with the status **Invited**.
{% hint style="info" %}
The invitation link is valid for **7 days**. If the new user does not register using the link within this time, a new invitation has to be created.
{% endhint %}
### Withdrawing an invitation or copying the link again
If an invitation is no longer to be used, you can withdraw it at any time. The invitation link can also be copied again if needed.
1. Open **Settings** > **User management**.
2. Open the action menu (three dots) for the invited person.
3. Select the action you want.
{% hint style="info" %}
Once withdrawn, the person can no longer use this invitation. If the person is to be given access after all, you have to create a new invitation.
{% endhint %}
{% endstep %}
{% endstepper %}
The invited user can now register and connect to the account:
{% content-ref url="/pages/eyHtFWVj4PUPIxbGq98Y" %}
[Register as a new user](/en/anleitung/einstellungen/benutzerverwaltung/neuen-benutzer-registrieren.md)
{% endcontent-ref %}
.png?alt=media)


.png?alt=media)
.png?alt=media)
.png?alt=media)